
1 Oct 2026
Post by Elowenly
Introduction
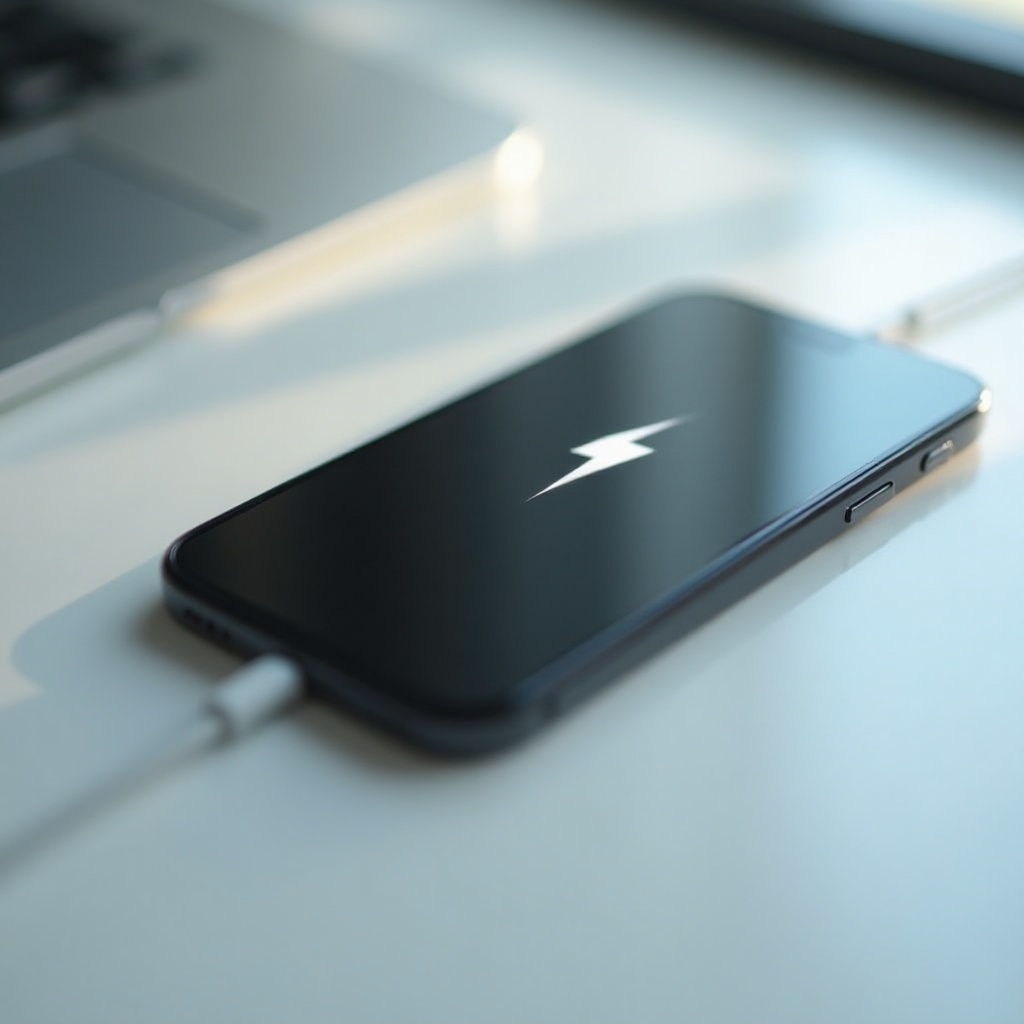
A flashing battery icon on a black screen can make your iPhone feel lifeless. You press the Side button and nothing changes. You plug it in, the battery icon blinks, then the screen goes dark again. The scene looks bad, but it is often simple to fix. Most cases of the flashing charging symbol iphone while dead trace back to weak power, a failing or uncertified cable, lint in the port, or a battery so low that it needs time to wake up. In some phones, a software stall or a worn battery adds to the problem. The right sequence solves most of these issues at home.
This guide walks you through the fastest path to a working iPhone. You will confirm strong power, swap cables, clean the port, and try a force restart while connected to a wall outlet. If that fails, you will move to Recovery Mode or DFU Mode on a computer. Along the way, you will learn how to read each screen, how long to wait at each stage, and how to know when you need professional repair. Each section builds on the last so you can move with confidence and avoid guesswork.
Understand the flashing charging symbol vs. other iPhone low‑power screens
Before you start changing chargers and cables, confirm what you see on the screen. That prevents wasted effort and points you to the right fix.
- Flashing battery icon on a black screen: The phone is extremely low on power. It detects a charger but does not have enough energy to boot. Stay on a strong wall charger and give it time.
- Solid red battery with cable symbol: The battery is very low and charging. It should boot once charge reaches a safe level. If it loops here, suspect the cable, charger, port, or battery.
- Cable to computer image: The phone requests Recovery Mode. It wants a connection to a Mac or a Windows PC with iTunes to update or restore software.
- Temperature alert: A thermometer graphic means the phone is too hot or too cold. Move it to room temperature, then try charging again.
Recognizing these screens helps you avoid using the wrong fix. If your iPhone shows the flashing battery icon and stays dark, focus first on power delivery and patience. If you see the cable to computer prompt, you will need software steps. If you see a temperature alert, address the environment before anything else. With that clarity, you are ready for quick triage.
Quick triage checklist before you troubleshoot
Move through a short checklist to eliminate the most common errors. Each item builds toward reliable charging and a clean test of the battery and software.
- Use a wall outlet instead of a laptop USB port, TV, or car charger.
- Choose a 20W or higher USB‑C Power Delivery charger. Apple 20W, 30W, or any reputable PD adapter works.
- Try a known good, certified cable. For iPhone 15 series use USB‑C to USB‑C. For earlier models use MFi Lightning.
- Confirm the outlet works by testing it with another device.
- Check the port for lint or debris and clean it gently if needed.
- Keep the phone connected for at least 30 minutes before judging progress.
- Attempt a force restart while plugged in.
- If your model supports it, try MagSafe or Qi wireless charging as a diagnostic.
If those quick checks do not change the flashing charging symbol iphone while dead after 60 minutes, you will dive deeper into power and accessory quality in the next step.
Step 1: Verify your power source and charger
A deep discharge needs strong, stable power. Weak chargers or old USB ports often cannot push enough current to move the battery out of its low‑power zone.
- Plug into a reliable wall outlet. Avoid hubs and shared strips when testing.
- Use a USB‑C PD charger rated at 20W or higher. Many third‑party PD adapters work well.
- Avoid old 5W cubes or weak USB‑A ports. They often trickle forever without reaching boot level.
- Once connected, leave the phone undisturbed for 10 to 15 minutes before testing the Side button.
If the icon still flashes, do not assume the charger is at fault yet. Cables fail more often than adapters. The next step checks the link between the adapter and your phone.
Step 2: Swap to a certified cable and check for damage
A poor cable can pass just enough power to blink the icon but not enough to revive the battery. Swap it early so you do not waste time.
- For iPhone 15 series and later with USB‑C: Use a USB‑C to USB‑C cable that supports Power Delivery. Avoid thin, unknown cables.
- For Lightning models: Use an MFi‑certified Lightning cable from Apple or a reputable brand.
Inspect the entire cable:
– Look for frayed sheath, exposed wires, or burn marks.
– Examine connector tips for bent pins or corrosion.
– Plug in and gently wiggle the connector. If charging cuts in and out, replace the cable.
If a new cable makes the connection stable, keep charging and watch for progress. If the flashing continues, the next likely culprit is the charging port itself. That is where lint and dust can silently break contact.
Step 3: Clean and inspect the charging port (Lightning vs. USB‑C)
Every pocket collects lint. That lint packs into your iPhone port and can block a clean fit. Even a thin layer of fuzz can cause intermittent charging that never fills the battery. A safe cleaning often fixes the flashing charging symbol iphone while dead without any other change.
Follow a safe method:
– Power the phone off if possible.
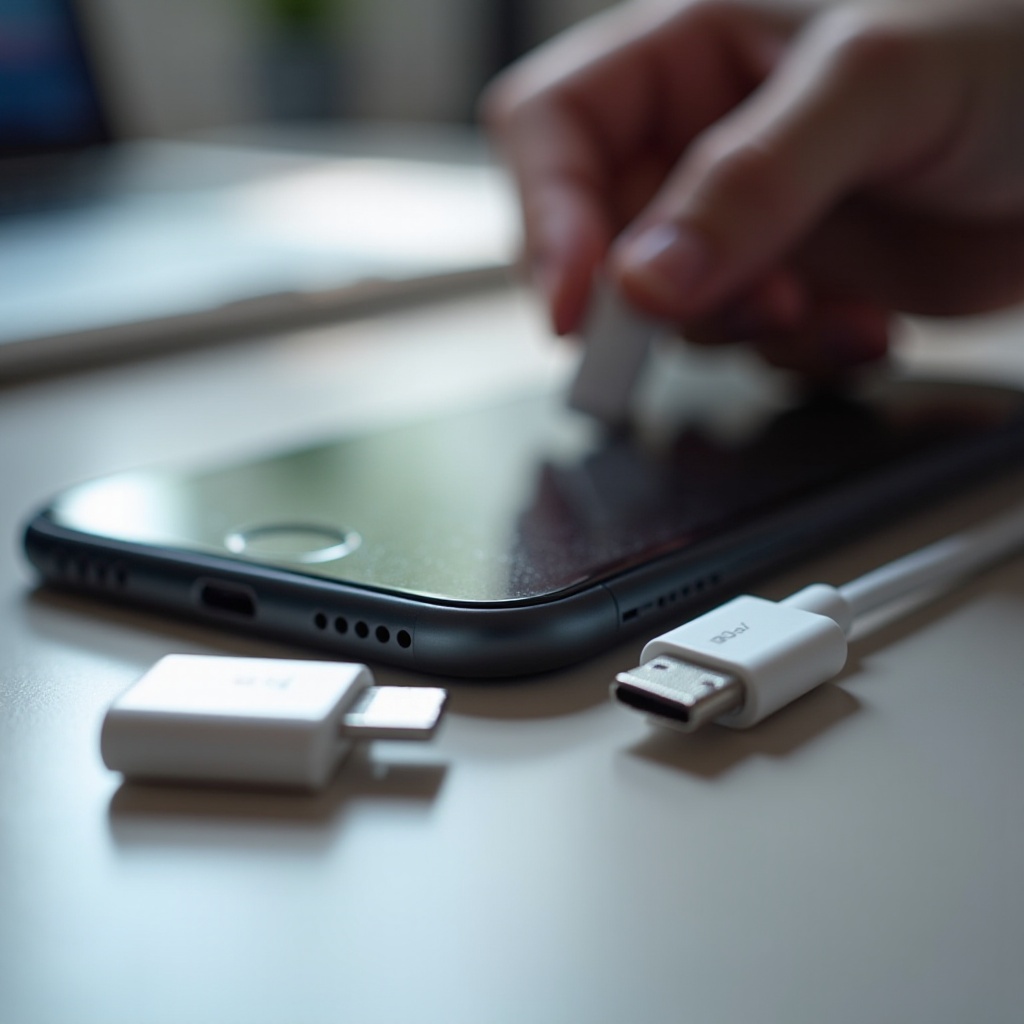
– Use a plastic or wooden toothpick, a nylon SIM eject tool, or a soft anti‑static brush.
– Shine a flashlight into the port and gently lift out lint and particles.
– Do not use metal pins or sharp needles. Do not blast canned air into the port.
Lightning ports are narrow and tend to compact lint at the back. USB‑C ports have a fragile center tongue that you must avoid bending. After cleaning, reinsert the cable. If it seats deeper and feels firm, you likely restored contact. Leave the phone on charge for at least 15 minutes before testing a boot. If the icon still flashes, it is time to understand how long deep recovery can take.
Step 4: Allow proper trickle charge and know the timing (0–60+ minutes)
A battery at near zero state of charge needs a controlled precharge. The phone limits current to protect the cells until voltage rises. That phase can make the screen blink the battery icon and then go dark. Rushing this period leads to false negatives.
Use these timing checkpoints as a guide:
– 0 to 10 minutes: Expect the flashing icon to appear occasionally. The screen may stay black most of the time. Just wait.
– 10 to 30 minutes: The icon should appear more consistently. Try a brief Side button press at the 20 minute mark.
– 30 to 60 minutes: Many devices will reach a level where a force restart brings up the Apple logo.
– 60 minutes and beyond: If there is no change with a known good charger and cable, suspect a failing battery, a damaged port, or software corruption.
Keep the phone at room temperature. If it is cold, warm it slowly to a normal indoor range. If it is hot, let it cool before charging. With some charge in the battery, a force restart can clear a stalled system and kickstart the boot process. That is your next step.
Step 5: Force restart by model while connected to power
A force restart can fix a frozen state that prevents the display from waking. Keep the phone connected to your strong wall charger and follow the exact sequence for your model.
- iPhone 8 and later, including SE 2 and SE 3, X, 11, 12, 13, 14, 15: Press and quickly release Volume Up, then press and quickly release Volume Down, then press and hold the Side button until you see the Apple logo.
- iPhone 7 and 7 Plus: Press and hold the Side button and Volume Down together until the Apple logo appears.
- iPhone 6s and SE 1: Press and hold the Home and Side or Top buttons together until the Apple logo appears.
Hold the final press for 10 to 20 seconds. If the logo appears and the phone boots, let it continue charging uninterrupted. If the logo never appears and the icon keeps flashing, you need to change charging variables to isolate the cause.
Step 6: Try alternate charging methods (wall, PD power bank, MagSafe or Qi)
If your current setup does not work, change one variable at a time and test again. This approach tells you which part was the culprit.
- Different wall outlet and adapter: Use a second 20W or higher PD charger on a different outlet.
- PD power bank: A quality USB‑C PD power bank can deliver clean current and revive a deep discharge when wall power is not available.
- MagSafe or Qi wireless charging: If your iPhone supports it, place it on a trusted MagSafe puck or Qi pad. Wireless charging bypasses the port. If wireless works and wired does not, suspect the port or cable.
Stick with the setup that shows progress until the battery reaches a stable level, ideally above 20 percent. If none of these methods help after an hour, your next step is to decide whether you are facing a hardware issue or a software stall. The following section helps you tell the difference.
Spot the signs of deep discharge, battery failure, or port damage
Different root causes require different fixes. Use these clues to decide what to try next.
- Deep discharge: After 30 to 60 minutes on a strong charger, the phone boots and then behaves normally. That means power delivery and battery health are likely fine.
- Battery failure: The phone warms up while charging but never makes progress, shuts down again right after boot, or sticks in a low battery loop. Once booted, Battery Health may show a service message. Replacement may be needed.
- Port damage: The connector feels loose, charging drops out if you touch the cable, or you see bent pins or greenish corrosion. Wireless charging works while wired charging fails. Port repair is likely.
- Charger or cable mismatch: The phone charges with one combo but not another. A certified, higher wattage setup fixes it. Keep that setup as your baseline.
If your clues point to software, move to Recovery Mode on a computer. If they point to hardware, consider repair or a professional evaluation. When in doubt, attempt software recovery first because it is reversible when you choose Update instead of Restore.
Advanced software recovery: Recovery Mode and DFU Mode steps
If power, cable, and port checks look good but the iPhone still stays on the flashing charging symbol iphone while dead, software may be stuck. Recovery Mode lets you update iOS without erasing data. DFU Mode goes deeper and reinstalls firmware. DFU may require a restore, which can erase data.
Recovery Mode steps:
1. Connect your iPhone to a Mac using Finder or to a Windows PC with iTunes.
2. Enter Recovery Mode using the force restart sequence, but keep holding until the recovery screen appears.
3. On the computer, choose Update. This downloads iOS and attempts to reinstall the system without erasing your content.
4. Allow the update to complete. Keep the phone connected and do not interrupt power.
If Update fails, you can try Restore in Finder or iTunes. Restore erases the device and reinstalls the system. Use it only if you have a backup or if you accept data loss to revive the phone.
DFU Mode steps (last resort):
1. Connect the iPhone to your computer and open Finder or iTunes.
2. Follow model specific DFU timing. For recent models, a sequence of button presses ends with holding the Side button and Volume Down together, then releasing the Side button while holding Volume Down until the screen stays black and the computer detects a device in recovery.
3. Choose Restore to reinstall firmware and iOS.
DFU Mode is powerful but risky for data. Try Recovery Mode and every power fix before going this deep. If none of these software paths succeed, it is time to consult support.
When to contact Apple Support or a repair shop
Know when to stop troubleshooting and call a pro. You save time and protect your data by getting expert help when certain signs appear.
- No change after 60 to 90 minutes on a known good 20W or higher charger and certified cable.
- Visible port damage, loose fit, bent pins, corrosion, burns, or signs of liquid.
- The phone boots but shuts off quickly and Battery Health shows a service warning.
- Recovery Mode and DFU Mode both fail with errors or never complete.
- You hear swelling noises or see the screen lifting from the frame, which suggests a swelling battery.
Apple can run remote and in store diagnostics. Authorized service providers and reputable independent shops can replace batteries and charging ports. If you have AppleCare Plus or warranty coverage, start with Apple to see your options and potential costs.
Prevention tips to avoid the dead plus flashing battery scenario
A few habits reduce the chance that you ever see the flashing charging symbol iphone while dead again. Focus on healthy charging patterns, good accessories, and a clean port.
- Keep the battery between 20 and 80 percent for daily use when possible.
- Avoid frequent deep discharges to zero percent.
- Use certified chargers and cables. Label one set as known good and keep it handy for testing.
- Clean the charging port every few months using a safe tool and gentle technique.
- Avoid charging in extreme heat or cold. Move to room temperature before you plug in.
- Update iOS and apps to reduce crashes that can happen at low battery levels.
- Enable Optimized Battery Charging to slow aging.
- Carry a small PD power bank for travel or emergencies.
- Back up the phone regularly to iCloud or a computer so you can restore after a software repair without fear.
These simple steps protect the battery, keep the port clear, and give you a reliable path for quick fixes. They also make future troubleshooting faster because you will have a trusted charger and cable ready.
Conclusion
A flashing charging symbol iphone while dead can look alarming, but most fixes are simple. Start with strong wall power and a 20W or higher PD charger. Switch to a certified cable and clean the port carefully. Give the battery enough time to leave the trickle phase, then use a force restart while still connected to power. If the phone remains stuck, test alternate charging methods and read the signs that point to battery, port, or charger issues. When power delivery looks fine, use Recovery Mode to repair software without erasing data, and consider DFU Mode only if nothing else works.
Move step by step and change one variable at a time. Document what you tried and what worked so you can repeat success next time. With patience, a good charger and cable, and safe cleaning, most iPhones move from a blinking icon to the Apple logo and then back to the home screen. When a device needs more than that, professional diagnostics and repair close the gap and get you back to normal use.
Frequently Asked Questions
Why does my iPhone show a flashing battery icon but still will not turn on?
The battery is at a very low state of charge. The phone sees power but cannot boot yet. Use a 20W or higher PD charger and a certified cable, clean the port, wait 30 to 60 minutes, and try a force restart while still plugged in.
How long should I leave a dead iPhone charging before I expect it to boot?
Give it at least 30 minutes on a strong wall charger, then try a force restart while connected. If the icon still flashes after 60 minutes with a known good setup, move to Recovery Mode or consider hardware issues like a worn battery or damaged port.
Will DFU Mode erase my data and when should I use it?
DFU Mode often requires a restore, which can erase data if you do not have a backup. Use DFU only after Recovery Mode fails and you suspect firmware corruption. Try every power and Update option first if your data matters.