8 Feb 2026
Post by Elowenly
Introduction
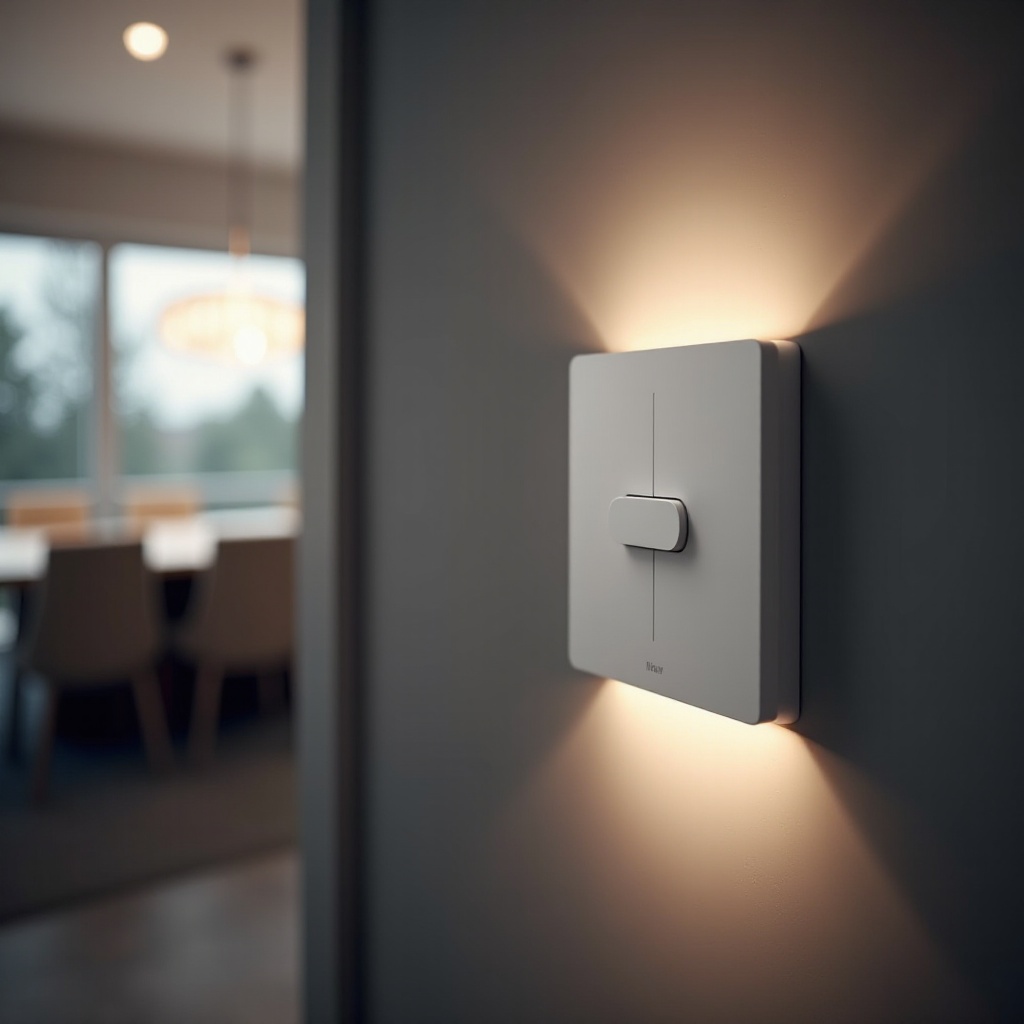
Smart light switches are transforming homes by adding convenience and creating efficient lighting solutions. Installing a smart light switch doesn’t require advanced skills, but knowing the right steps can ensure success. This guide provides you with step-by-step instructions to help you integrate a smart light switch into your home setup effortlessly.
What You Need Before You Start
Preparation is key to a smooth installation experience. Ensure you’ve gathered all necessary tools and checked the compatibility of your smart switch with your home’s wiring.
- List of Necessary Tools:
- Screwdriver
- Voltage Tester
- Wire Stripper
- Electrical Tape
Make sure your smart light switch is compatible with your home’s existing electrical system. Most smart switches require a neutral wire for installation. Confirm that your Wi-Fi connectivity is stable, as it plays a crucial role in the switch’s functionality.
Safety Precautions
Handling electrical installations safely is critical. Proper safety measures prevent accidents and ensure your project’s success.
-
Turning Off Power Correctly:
Find your home’s circuit breaker and switch off the power to the particular switch you will be working on. Double-check by using a voltage tester to confirm the power is indeed off. -
Using Safety Equipment:
Equip yourself with protective gear, such as gloves and safety goggles. They protect you from potential electrical hazards and flying debris.
Removing the Old Light Switch
With safety checks in place, it’s time to uninstall the existing switch and make way for the new smart version.
- Disconnecting the Existing Switch:
- Carefully remove the switch’s faceplate with a screwdriver.
- Unscrew the light switch from its electrical box.
-
Label the wires for easy reconnection later and disconnect them from the switch.
-
Handling Old Wiring Safely:
Safely discard any outdated wiring or securely fasten them if necessary. If you spot any worn-out or damaged wires, replace or repair them before proceeding.
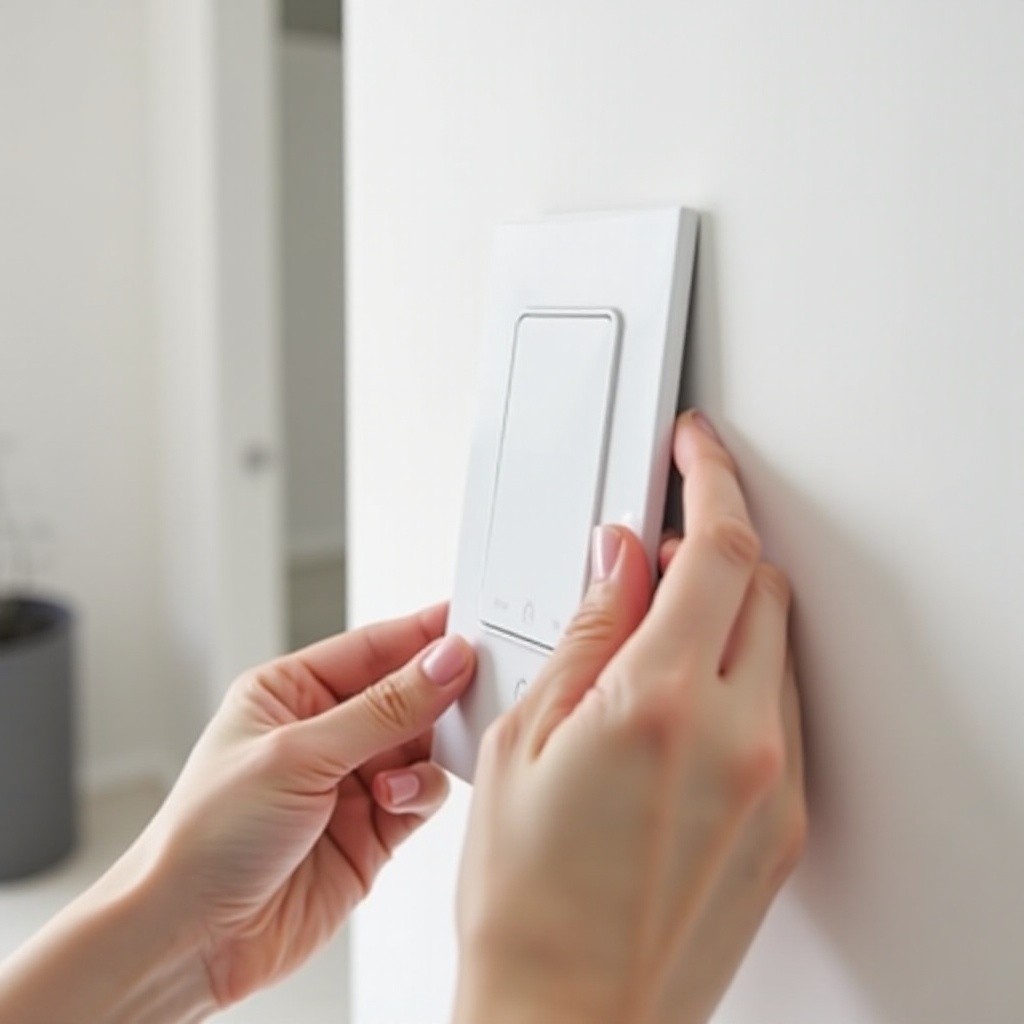
Installing the New Smart Light Switch
You can now proceed to fit your new smart switch, following the manufacturer’s instructions closely to ensure a successful installation.
- Connecting the Wires Properly:
- Connect the smart switch’s wires to the corresponding wires in the electrical box. Typically, this means connecting the line, load, and ground wires, as well as a neutral wire if required.
-
Use wire nuts and electrical tape to secure the connections adequately.
-
Mounting the Switch Securely:
- Neatly tuck the wires into the electrical box and align the smart switch.
- Secure the switch to the box with screws, making sure it is level.
- Attach the faceplate snugly.
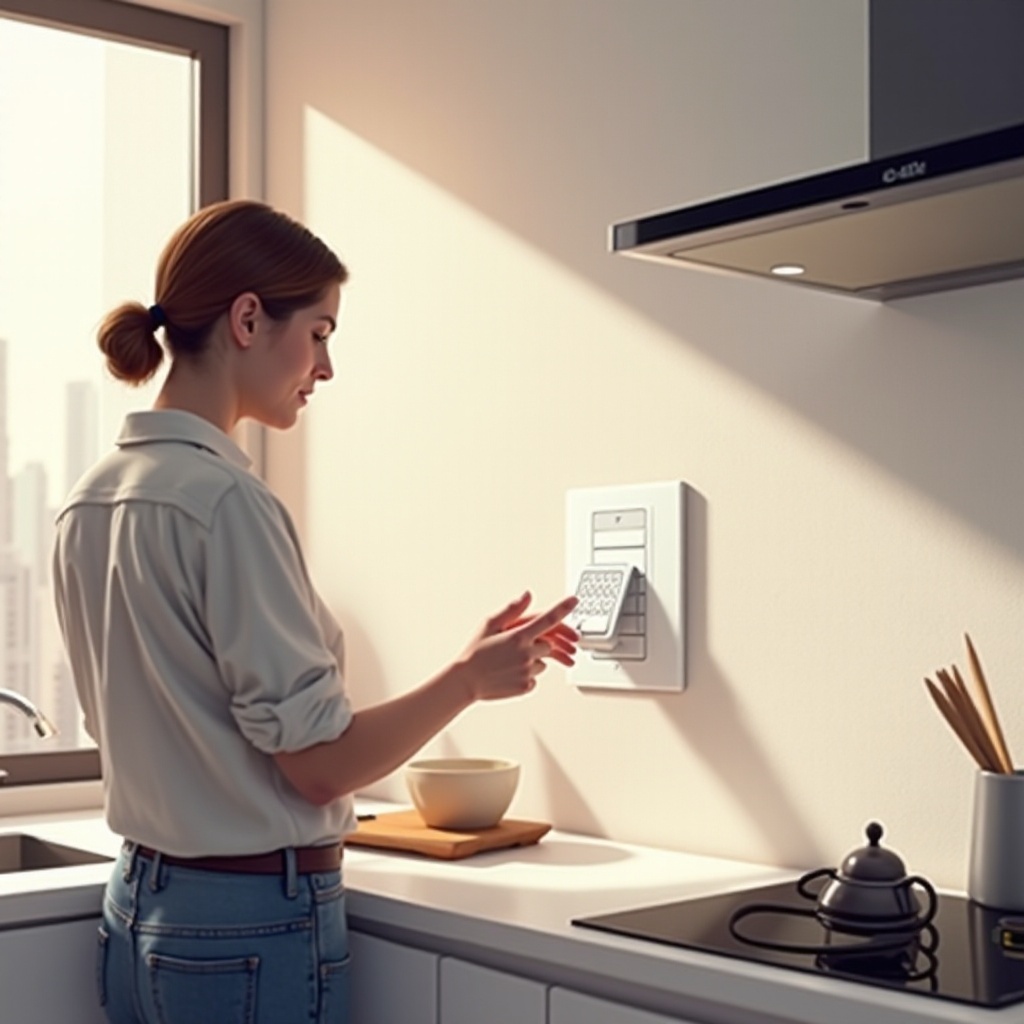
Configuring the Smart Light Switch
After physical installation, configure your switch using the manufacturer’s dedicated app to integrate it with your smart home system.
-
Download the Appropriate App:
Locate the app specified for your switch on your device’s app store. Download and install the application, then proceed as instructed. -
Ensuring Wi-Fi Connectivity:
Use the app to link your smart switch to your Wi-Fi network. Check for a stable internet connection and verify that your router is within range for optimal performance.
Testing the Installation
To verify that your new installation is successful, perform these tests. This ensures your switch is fully operational before regular use.
-
Testing Manually:
Restore power at the circuit breaker, then manually check the switch to ensure it operates the light correctly. -
Testing via the App:
Use the app to control the light remotely. Successful operation confirms proper network connectivity and functionality.
Troubleshooting Common Issues
Even then, issues may arise post-installation. Here’s how to tackle common problems:
-
Resolving Connectivity Issues:
If your switch doesn’t connect properly to the app, verify your Wi-Fi settings. Ensure the switch is placed within your router’s range. Sometimes, rebooting your router can resolve lingering connectivity issues. -
Understanding Error Messages:
The app’s troubleshooting guide can assist if error messages appear. Understanding these messages aids in addressing specific operational issues.
Conclusion
By diligently following these steps, you’ll enjoy the convenience and efficiency that a smart light switch brings to your home. Seamlessly incorporating your switch into a broader smart home network can open up a realm of possibilities in home automation. Get ready to embrace the ease and flexibility that comes with smart technology.
Frequently Asked Questions
What if my switch doesn’t have a neutral wire?
Some smart switches are compatible without a neutral wire. Purchase a suitable switch or consult an electrician for potential wiring solutions.
Can I control multiple switches with one app?
Yes, most smart home apps allow you to manage multiple devices, enabling you to operate several switches from a single interface.
What are the energy savings with smart switches?
Smart switches can help reduce energy consumption by facilitating remote or scheduled control of lights, ensuring they’re only on when needed.