4 May 2025
Post by Elowenly
Introduction
OneNote has become an integral tool for many, given its exceptional note-taking capabilities and seamless integration with other Microsoft Office products. However, there come times when you need to delete a OneNote notebook, whether it’s to clear space, remove outdated information, or simply tidy up. Deleting a OneNote notebook might seem complicated at first glance, but with our comprehensive step-by-step guide, you can easily handle the task on different devices. We’ll walk you through the process on both Windows and Mac laptops, demonstrate alternative methods using OneDrive, and provide troubleshooting tips for common issues.
Preparing Your Data Before Deletion
Before diving into deleting your OneNote notebook, it’s essential to ensure you’ve backed up any crucial data. Losing important notes can lead to inconvenient situations. Here’s a quick preparation checklist:
- Backup Important Notes: Ensure you have saved any important data to an external storage or another OneNote notebook.
- Check OneDrive Sync: Ensure your content is fully synchronized to OneDrive if you plan to move the notebook or need to access it from another device.
- Export Notes: If you don’t need the entire notebook but wish to keep parts of it, consider exporting specific sections. In OneNote, you can export as a PDF or other file formats for future reference.
With your data safe, you’re ready to proceed with the deletion process.
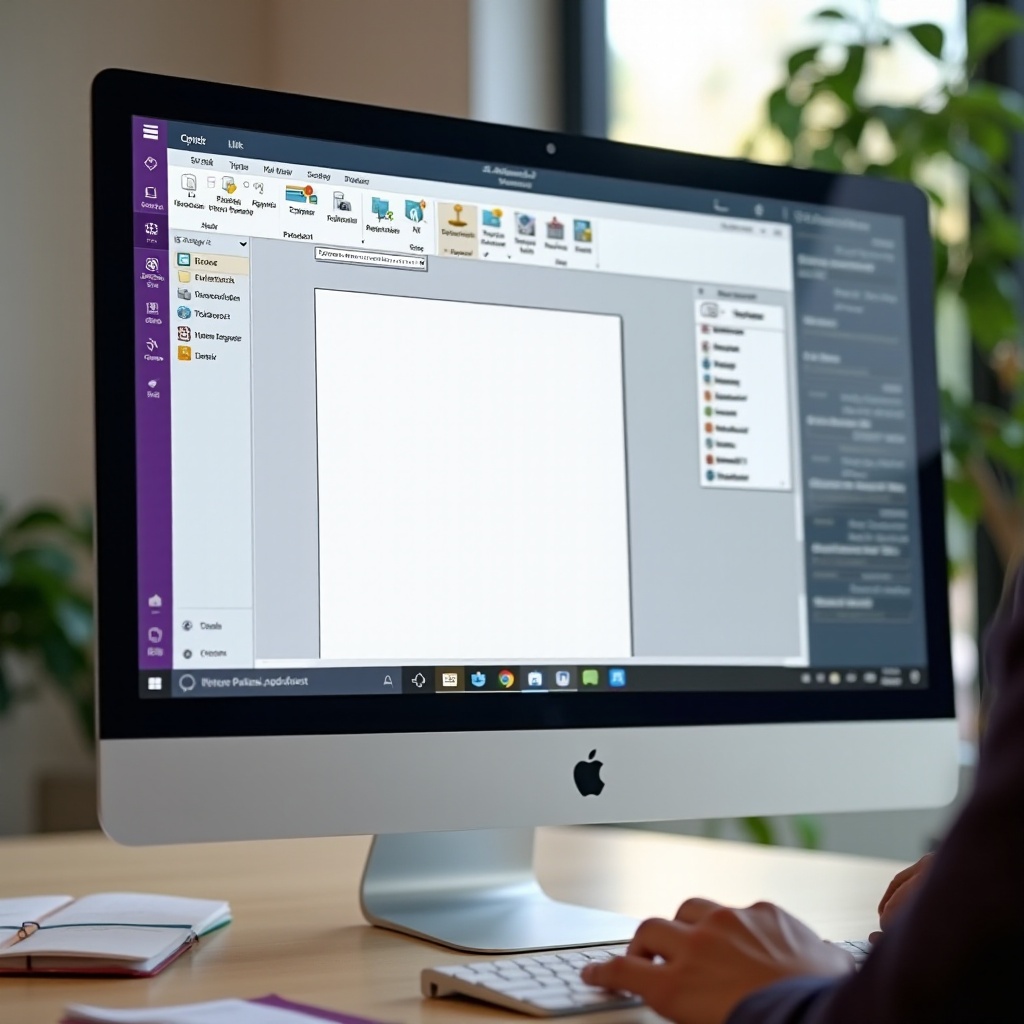
Deleting OneNote Notebooks on Windows Laptops
Deleting a OneNote notebook on a Windows laptop is straightforward. Follow these steps to ensure a smooth process:
- Open OneNote: Launch the OneNote application on your Windows laptop.
- Select the Notebook: Navigate to the notebook you wish to delete.
- Go to File: In the top left corner, click ‘File’ to open the menu.
- Info Tab: Select the ‘Info’ tab from the options available.
- Open Notebook in OneDrive: Click ‘Open Backups’ to be redirected to OneDrive in your web browser, where your notebooks are stored.
- Sign In to OneDrive: Ensure you are signed into your Microsoft account to view the list of your saved notebooks.
- Locate and Delete: Find the notebook you want to delete, right-click on it, and select ‘Delete.’ Confirm your action in the dialog box.
Note: OneNote for Windows doesn’t have a direct delete option for notebooks within the application, hence the necessity to manage deletions through OneDrive.
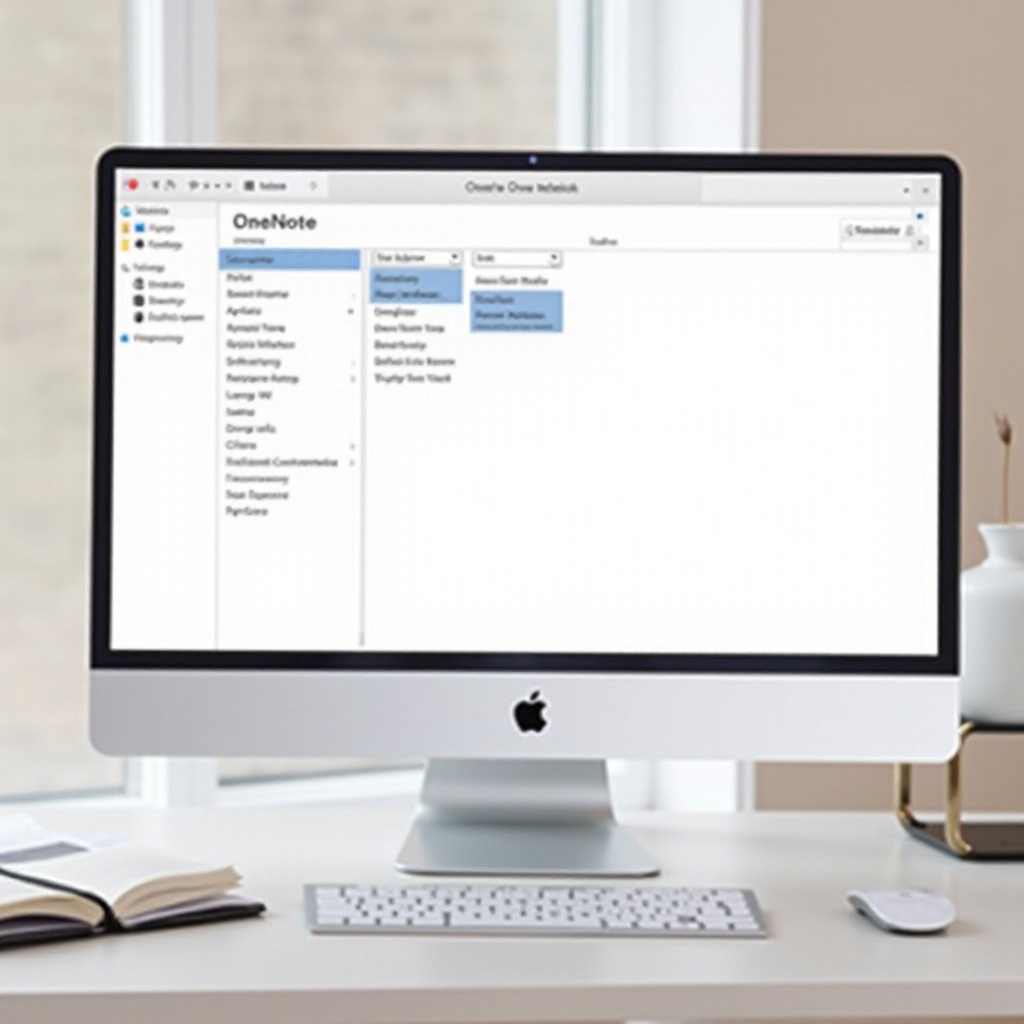
Deleting OneNote Notebooks on Mac Laptops
The process on Mac is somewhat similar, with slight differences in the navigation steps:
- Open OneNote: Launch OneNote on your Mac.
- Notebook List: Click on ‘Notebooks’ at the top menu bar to open the notebook list.
- Close Notebook: Locate the notebook you wish to delete, right-click on it, and select ‘Close This Notebook.’ This action removes it from your OneNote view but does not delete it from the storage.
Permanently Delete the Notebook on Mac
To permanently delete the notebook:
- Open OneDrive: Navigate to OneDrive on your web browser and sign in with your Microsoft account.
- Find the Notebook: Browse to the location where your notebook is saved.
- Delete Notebook: Right-click on the desired notebook and select ‘Delete.’ Confirm this action when prompted.
By following these steps, you can efficiently remove any unnecessary notebooks from your MacBook and OneDrive.

Alternative Deletion Methods Using OneDrive
For users looking for alternative methods, managing your notebooks via OneDrive is a viable option:
- Access OneDrive: Open your browser and log into OneDrive with your Microsoft credentials.
- Navigate to Notebooks: Visit the ‘Documents’ folder or the specific directory where your OneNote files are stored.
- Select and Delete: Right-click on the notebook you want to delete and choose ‘Delete.
Using OneDrive directly can be convenient if you manage multiple notebooks or prefer cloud management.
Troubleshooting Common Issues
Sometimes, you might face issues while trying to delete a notebook. Here are common problems and their solutions:
- Notebook Not Syncing:
- Ensure your internet connection is stable.
-
Manually sync your OneNote notebook by clicking the ‘File’ tab, selecting ‘Info,’ and then ‘View Sync Status.
-
Cannot Find Notebook:
- Double-check the location in OneDrive or the section in your OneNote app.
-
Use the search function in OneDrive to locate the missing notebook.
-
Access Denied Error:
- Make sure you’re the owner or have the necessary permissions.
- Check if the notebook is shared and ensure you have editing rights.
By following these troubleshooting steps, you can resolve most issues encountered during the deletion process.
Conclusion
Understanding how to delete a OneNote notebook efficiently empowers you to manage your digital workspace effectively. Whether you’re using a Windows or Mac laptop, or managing your notebooks through OneDrive, the steps outlined in this guide aim to simplify the process. Remember to backup your data and ensure synchronization to prevent accidental data loss.
Frequently Asked Questions
What happens to a deleted OneNote notebook?
A deleted OneNote notebook moves to the OneDrive Recycle Bin where it can be restored if needed. If it’s permanently deleted, it is irretrievable and the data is lost.
Can I recover a deleted OneNote notebook?
Yes, you can recover a deleted OneNote notebook from the OneDrive Recycle Bin within 30 days of deletion. Navigate to the Recycle Bin, find your notebook, and select ‘Restore.’
Why can’t I delete a OneNote notebook?
Common reasons might include sync issues, insufficient permissions, or the notebook being shared with others. Ensure proper sync, check your account permissions, and make sure you are the owner to delete.