9 May 2025
Post by Elowenly
Introduction
Chromebooks are popular for their simplicity, speed, and seamless integration with Google services. One of these convenient features is the ability to change the screen saver, which allows you to personalize your device. Whether you want a serene view of nature, a rotating display of your personal photos, or an engaging animation, setting up a new screen saver can be done quickly. This guide will walk you through every step of the process, provide customization options, and help you troubleshoot common issues. By the end, your Chromebook will have a screen saver that perfectly matches your preferences.
Understanding Your Chromebook
To effectively change your screen saver, it is essential to understand your Chromebook’s interface and capabilities. Chromebooks run on the Chrome OS, a streamlined operating system designed for web-based applications. The simplicity of Chrome OS makes navigating settings straightforward, including adjusting the screen saver.
The screen saver feature on Chromebooks is not just about aesthetics; it can also serve to display important information like time or notifications, or even provide a slideshow of pictures from your Google Photos. Knowing how to access and modify these settings ensures you can make the most of your device’s display features. With a basic understanding, you will be better equipped to customize your screen saver to suit your needs.
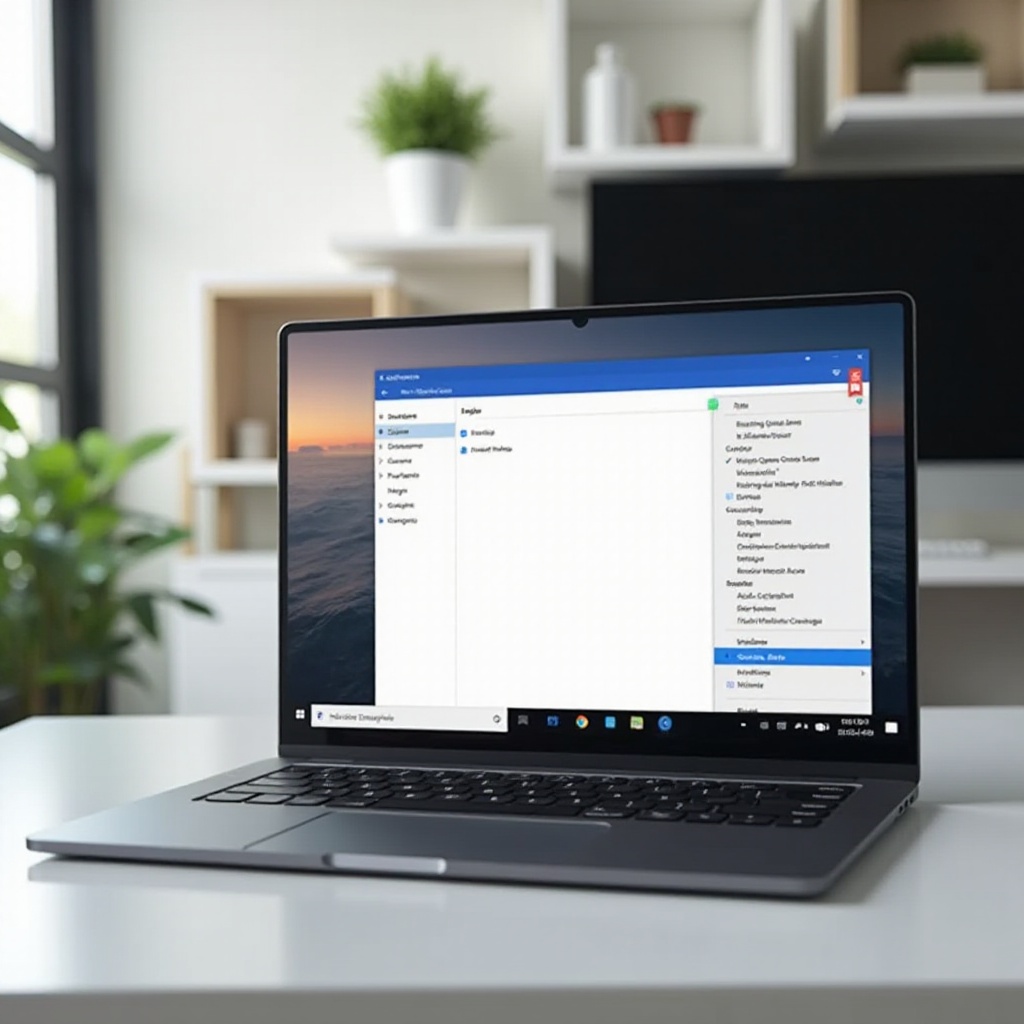
Steps to Change Screen Saver on Chromebook
Changing your screen saver on a Chromebook involves a few straightforward steps. Follow this guide to easily update your screen saver settings:
- Access Settings:
- Click on the time displayed at the bottom right corner of the screen.
-
Select the gear icon to open the Settings menu.
-
Navigate to Personalization:
- In the Settings menu, scroll down and click on ‘Personalization’.
-
Select ‘Screen saver’.
-
Choose Your Screen Saver:
- You will see several options such as ‘Google Photos,’ ‘Art Gallery,’ and more.
-
Select the source you prefer for your screen saver images.
-
Set the Screen Saver:
- After selecting your preferred source, click on the ‘Turn on’ button.
- Your screen saver settings will now be applied.
This process ensures that your Chromebook displays your chosen images or animations during idle times. Personalizing your screen saver helps make your device more appealing and can even make it more functional.
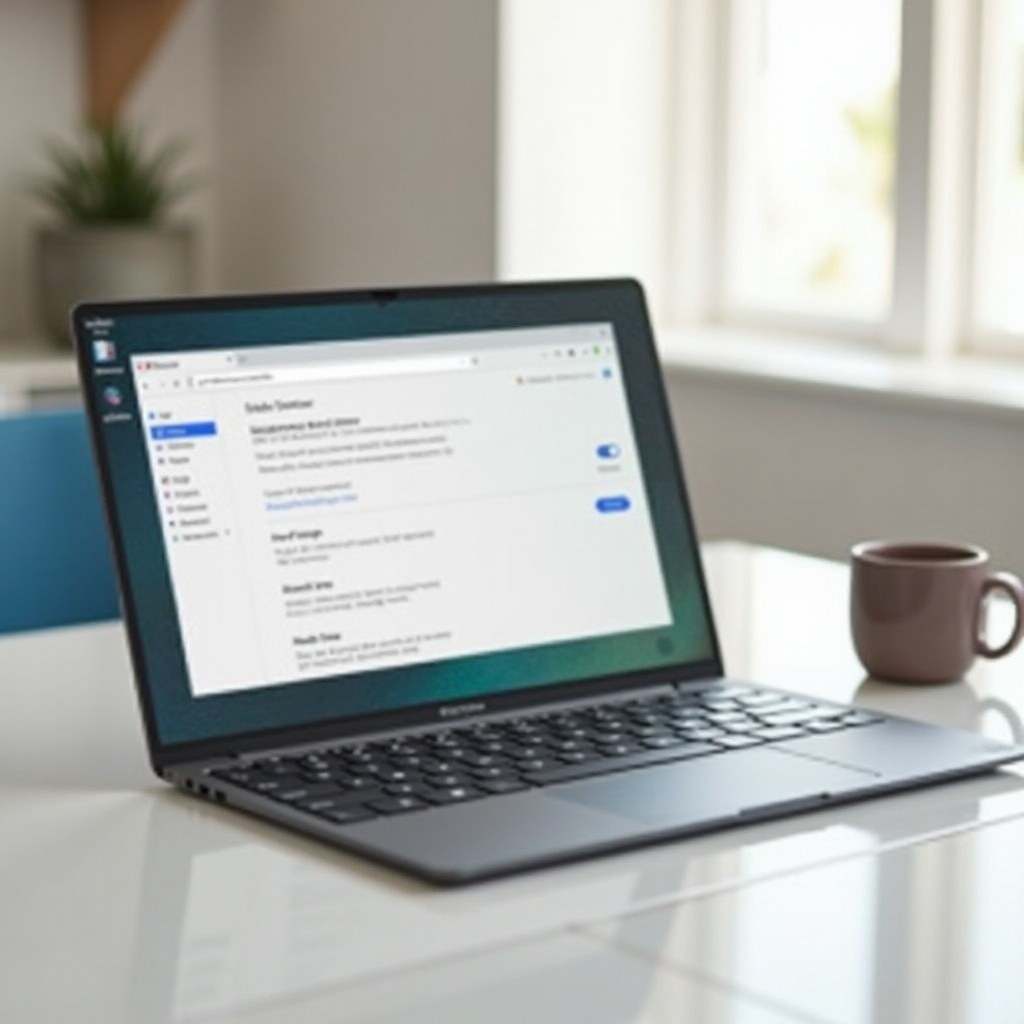
Customizing Your Screen Saver
Chromebooks offer various customization options for your screen saver. After setting the basic screen saver, you might want to further personalize it according to your tastes or needs.
- Use Personal Photos:
- If you choose Google Photos, you can select specific albums to display.
-
Go to the Google Photos section and choose the album you want to use.
-
Add Animation:
- Select options from the ‘Art Gallery’ for dynamic and animated screen savers.
-
These options range from abstract animations to curated art pieces.
-
Clock and Weather:
- Some screen savers let you add the clock and weather updates, which can be handy.
- Use the toggles available in the screen saver settings to enable these features.
Customizing your screen saver not only enhances the visual appeal but also adds useful elements to your idle screen. Make sure to explore different sources and features until you find the perfect combination. By mixing elements like personal photos and real-time information, your screen saver can serve both aesthetic and functional purposes.
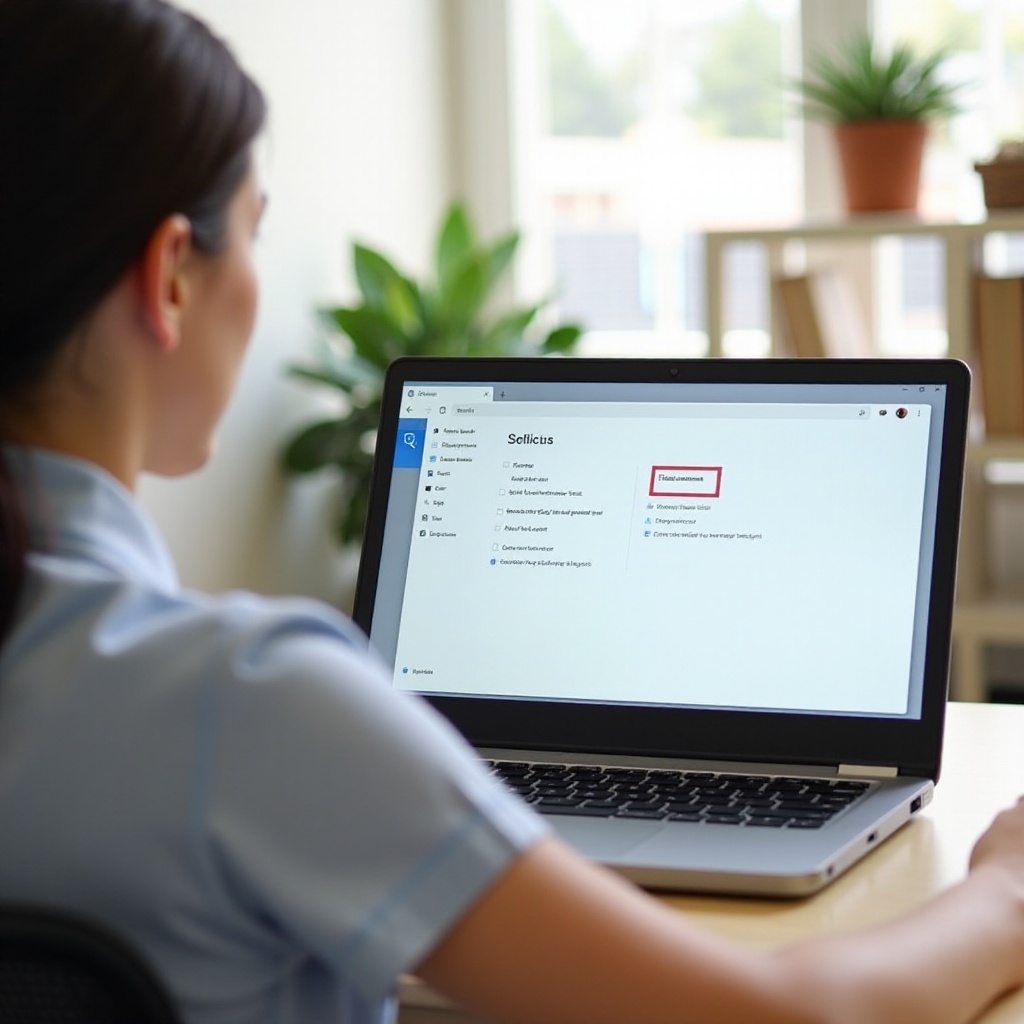
Troubleshooting Common Issues
Sometimes, you might encounter issues when trying to change or customize your screen saver. Here are common problems and how to address them:
- Screen Saver Not Changing:
- Ensure you have the latest Chrome OS update. Go to ‘Settings’ > ‘About Chrome OS’ > ‘Check for updates’.
-
Restart your Chromebook to apply any pending changes.
-
Google Photos Not Displaying:
- Verify that your Google Photos is synced and accessible.
-
Ensure you have selected the right album and permission settings.
-
Screen Saver Freezes:
- Disable and re-enable the screen saver via the settings.
- Check for any background applications that might interfere and close them.
By following these troubleshooting steps, most issues can be resolved quickly, allowing you to enjoy a fully functional and personalized screen saver.
Tips and Tricks
Optimizing the use of your screen saver can enhance your Chromebook experience. Here are some additional tips:
- Regular Updates:
- Keep your Chromebook updated to ensure all features work seamlessly, including the screen saver.
-
Regularly check for Chrome OS updates in ‘Settings’.
-
Explore Different Sources:
-
Do not limit yourself to one type of screen saver. Try different sources like ‘Art Gallery’ and ‘Google Photos’.
-
Optimization:
- If you use battery-saving modes, adjust screen saver settings accordingly to maximize battery life.
These tips ensure that your screen saver remains not only visually appealing but also efficient and updated. Combining aesthetic choices with practical considerations will help you get the most out of your Chromebook’s screen saver feature.
Conclusion
Changing and customizing your screen saver on a Chromebook is a quick and straightforward process that allows for a high degree of personalization. Whether you prefer the elegance of curated art or the personal touch of family photos, Chromebooks offer diverse options to suit your preferences. By understanding the steps, customizing the features, and troubleshooting effectively, your idle screen can become both informative and visually pleasing. Follow these guidelines, and enjoy a Chromebook experience tailored just for you.
Frequently Asked Questions
How do I access the screen saver settings on my Chromebook?
To access screen saver settings, click on the time displayed at the bottom right, select the gear icon for Settings, navigate to ‘Personalization,’ and then to ‘Screen saver’.
Can I use my own photos as a screen saver on Chromebook?
Yes, you can use your own photos from Google Photos. Select the ‘Google Photos’ option in the screen saver settings and choose the specific album you’d like to display.
Why isn’t my screen saver changing on my Chromebook?
Ensure your Chromebook is updated with the latest Chrome OS. Restart your device, and confirm your selected settings in the screen saver menu.