23 Jun 2025
Post by Elowenly
Introduction
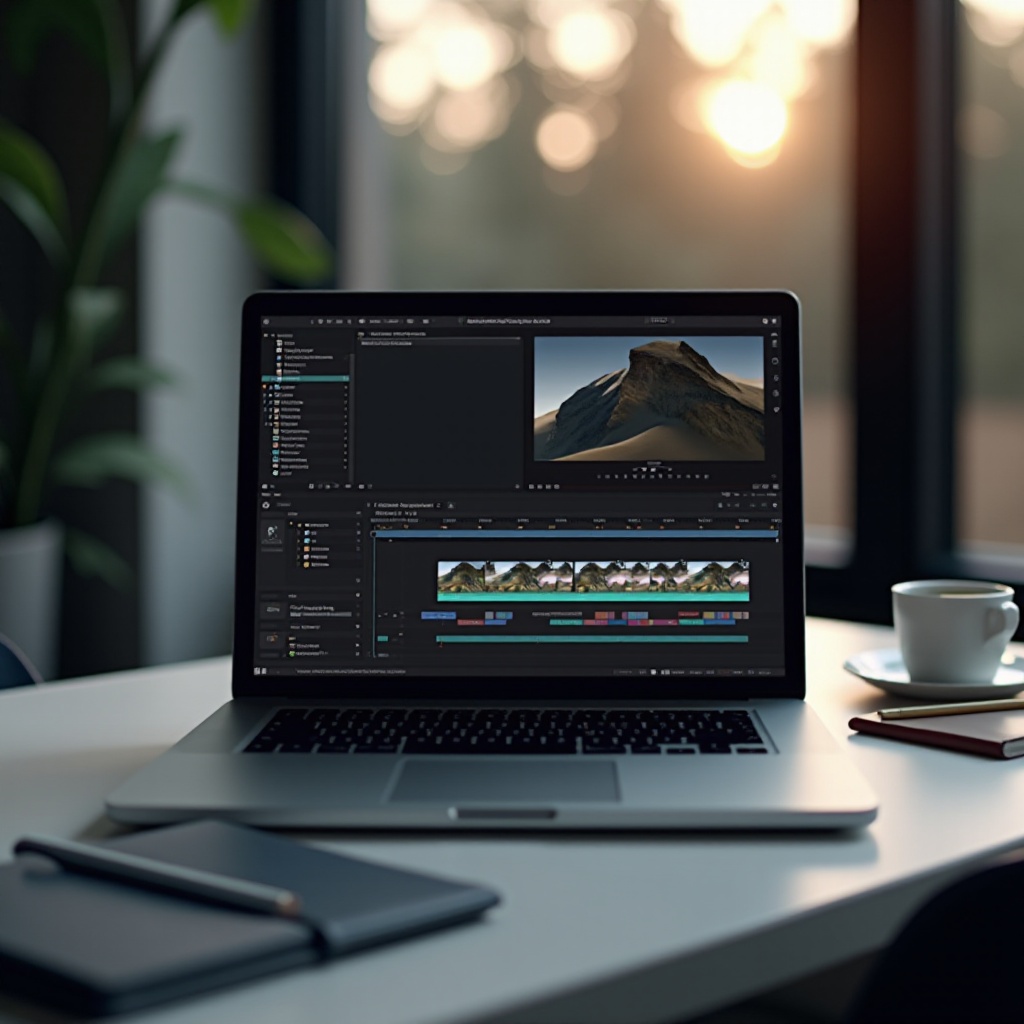
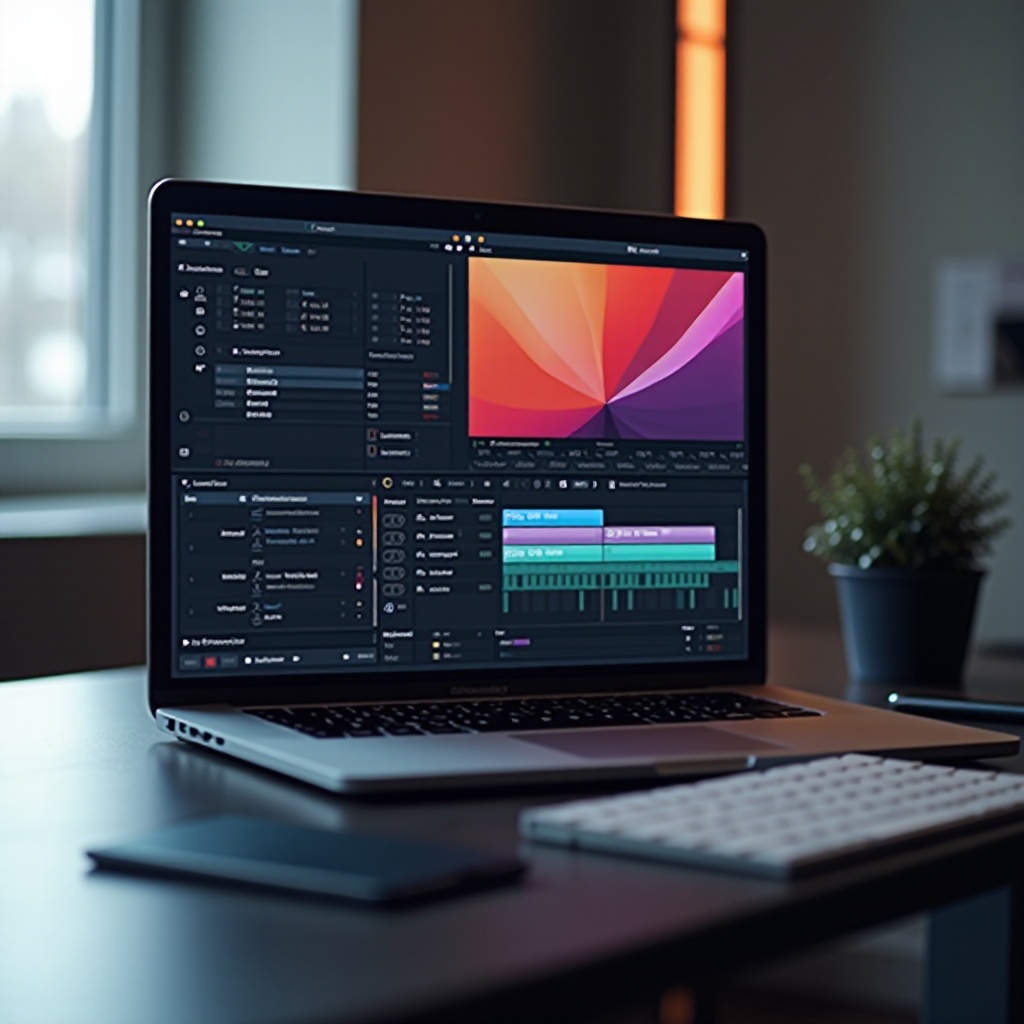
DaVinci Resolve is a powerful video editing software favored by professionals and enthusiasts alike. With its robust features for color correction, audio post-production, and video editing, it stands out in the world of content creation. Given the MacBook’s popularity as a workstation among creative professionals, one might wonder if DaVinci Resolve is a viable option on these machines. This comprehensive guide examines whether the software works smoothly on various MacBook models and provides insights for optimizing performance.
DaVinci Resolve System Requirements
Before diving into performance specifics for MacBook models, it’s essential to understand the system requirements for DaVinci Resolve. The software is resource-intensive and demands more from your system compared to typical applications.
Minimum System Requirements:
- Operating System: macOS 10.14.6 Mojave or later
- RAM: At least 16 GB (32 GB recommended for higher performance)
- GPU: Dedicated GPU with at least 4 GB VRAM
- Processor: Intel Core i7 (recommendation: Intel Core i9 or Apple M1)
- Storage: SSD is recommended for installation and project files
Understanding these requirements helps in assessing whether different MacBook models can handle the software efficiently.
Performance of DaVinci Resolve on Different MacBook Models
The performance of DaVinci Resolve on MacBooks varies significantly based on the hardware specifications of each model. Here’s a detailed look at how different models hold up:
MacBook Air
The MacBook Air is known more for its portability than sheer power. While the latest models with Apple’s M1 chip perform better than their Intel predecessors, they still face limitations. The integrated GPU struggles with heavy video editing tasks, especially in 4K. For basic editing and color correction, the MacBook Air can manage, but for more intensive tasks, you might experience considerable lag and longer rendering times.
MacBook Pro (13-inch)
The 13-inch MacBook Pro is a step up in performance, especially models equipped with the Apple M1 chip. The unified memory architecture of the M1 chip provides a more capable platform for DaVinci Resolve. Though not as powerful as the larger models, it offers a much smoother experience than the MacBook Air, making it suitable for mid-range projects. However, intense video editing and complex color grades might push the system to its limits.
MacBook Pro (16-inch)
For the best performance, the 16-inch MacBook Pro is the go-to option. Especially models with Intel Core i9 processors and dedicated Radeon Pro GPUs with up to 8 GB of VRAM or Apple’s M1 Pro/Max chips. These MacBooks offer exceptional performance, handling 4K and even 8K editing workflows efficiently. They come with enhanced cooling solutions to deal with the heat generated during intensive tasks, making them the best choice for professional videographers and editors using DaVinci Resolve.
Optimizing DaVinci Resolve on MacBook
Regardless of the MacBook model you’re using, you can take certain steps to optimize DaVinci Resolve for better performance.
Operating System Updates
Ensure that your macOS is updated to the latest version. Compatibility and performance improvements in macOS updates can significantly enhance the stability and efficiency of DaVinci Resolve.
Managing Resources: RAM, Storage, and External Drives
- RAM: More RAM allows the software to perform more efficiently. If your projects are large, consider upgrading to at least 32 GB of RAM.
- Storage: Use SSDs for both the installation of DaVinci Resolve and for storing project files. This reduces latency and speeds up data access.
- External Drives: Utilize external drives for storing media files. This frees up your internal SSD and improves overall system responsiveness.
Installation and Setup Process
Installing DaVinci Resolve on a MacBook follows a straightforward process:
- Download: Visit the official Blackmagic Design website and download the latest version of DaVinci Resolve.
- Install: Open the downloaded .dmg file and follow the on-screen instructions to install the software.
- Setup: Once installed, open DaVinci Resolve, and configure your preferences such as setting the default media storage locations, and GPU settings under the Preferences tab.
- License Activation: If you have a license key, activate it under the ‘Help’ menu by selecting ‘License Activation.

Common Issues and Troubleshooting
While DaVinci Resolve is robust software, you might encounter some common issues. Here’s a quick troubleshooting guide:
Performance Lags
If you experience lag:
– Lower the playback resolution in the project settings.
– Use optimized media and proxy files to reduce the load on the system.
– Ensure you’re not running other resource-intensive applications simultaneously.
Crashes and Freezes
To prevent crashes:
– Always keep DaVinci Resolve updated to the latest version.
– Ensure macOS is up to date.
– Clear cache files regularly to free up space.
– Check for hardware issues like overheating and perform regular maintenance.
Conclusion
While DaVinci Resolve can run on various MacBook models, performance varies significantly across different versions. The MacBook Air offers basic editing capability, whereas the MacBook Pro models, especially the 16-inch versions, provide a robust platform for professional video editing. By optimizing system resources and ensuring regular updates, you can significantly enhance the editing experience on your MacBook.
Frequently Asked Questions
Can MacBook Air run DaVinci Resolve efficiently?
Yes, but it is best suited for basic editing tasks. Intensive projects may cause lag and longer rendering times.
Is an external GPU necessary for DaVinci Resolve on MacBook?
While not necessary, an external GPU can significantly improve performance on MacBook models with integrated GPUs.
How do I improve rendering speeds on my MacBook?
To enhance rendering speeds, utilize optimized media, proxy files, upgrade your RAM, and ensure you’re using an SSD for storage.